
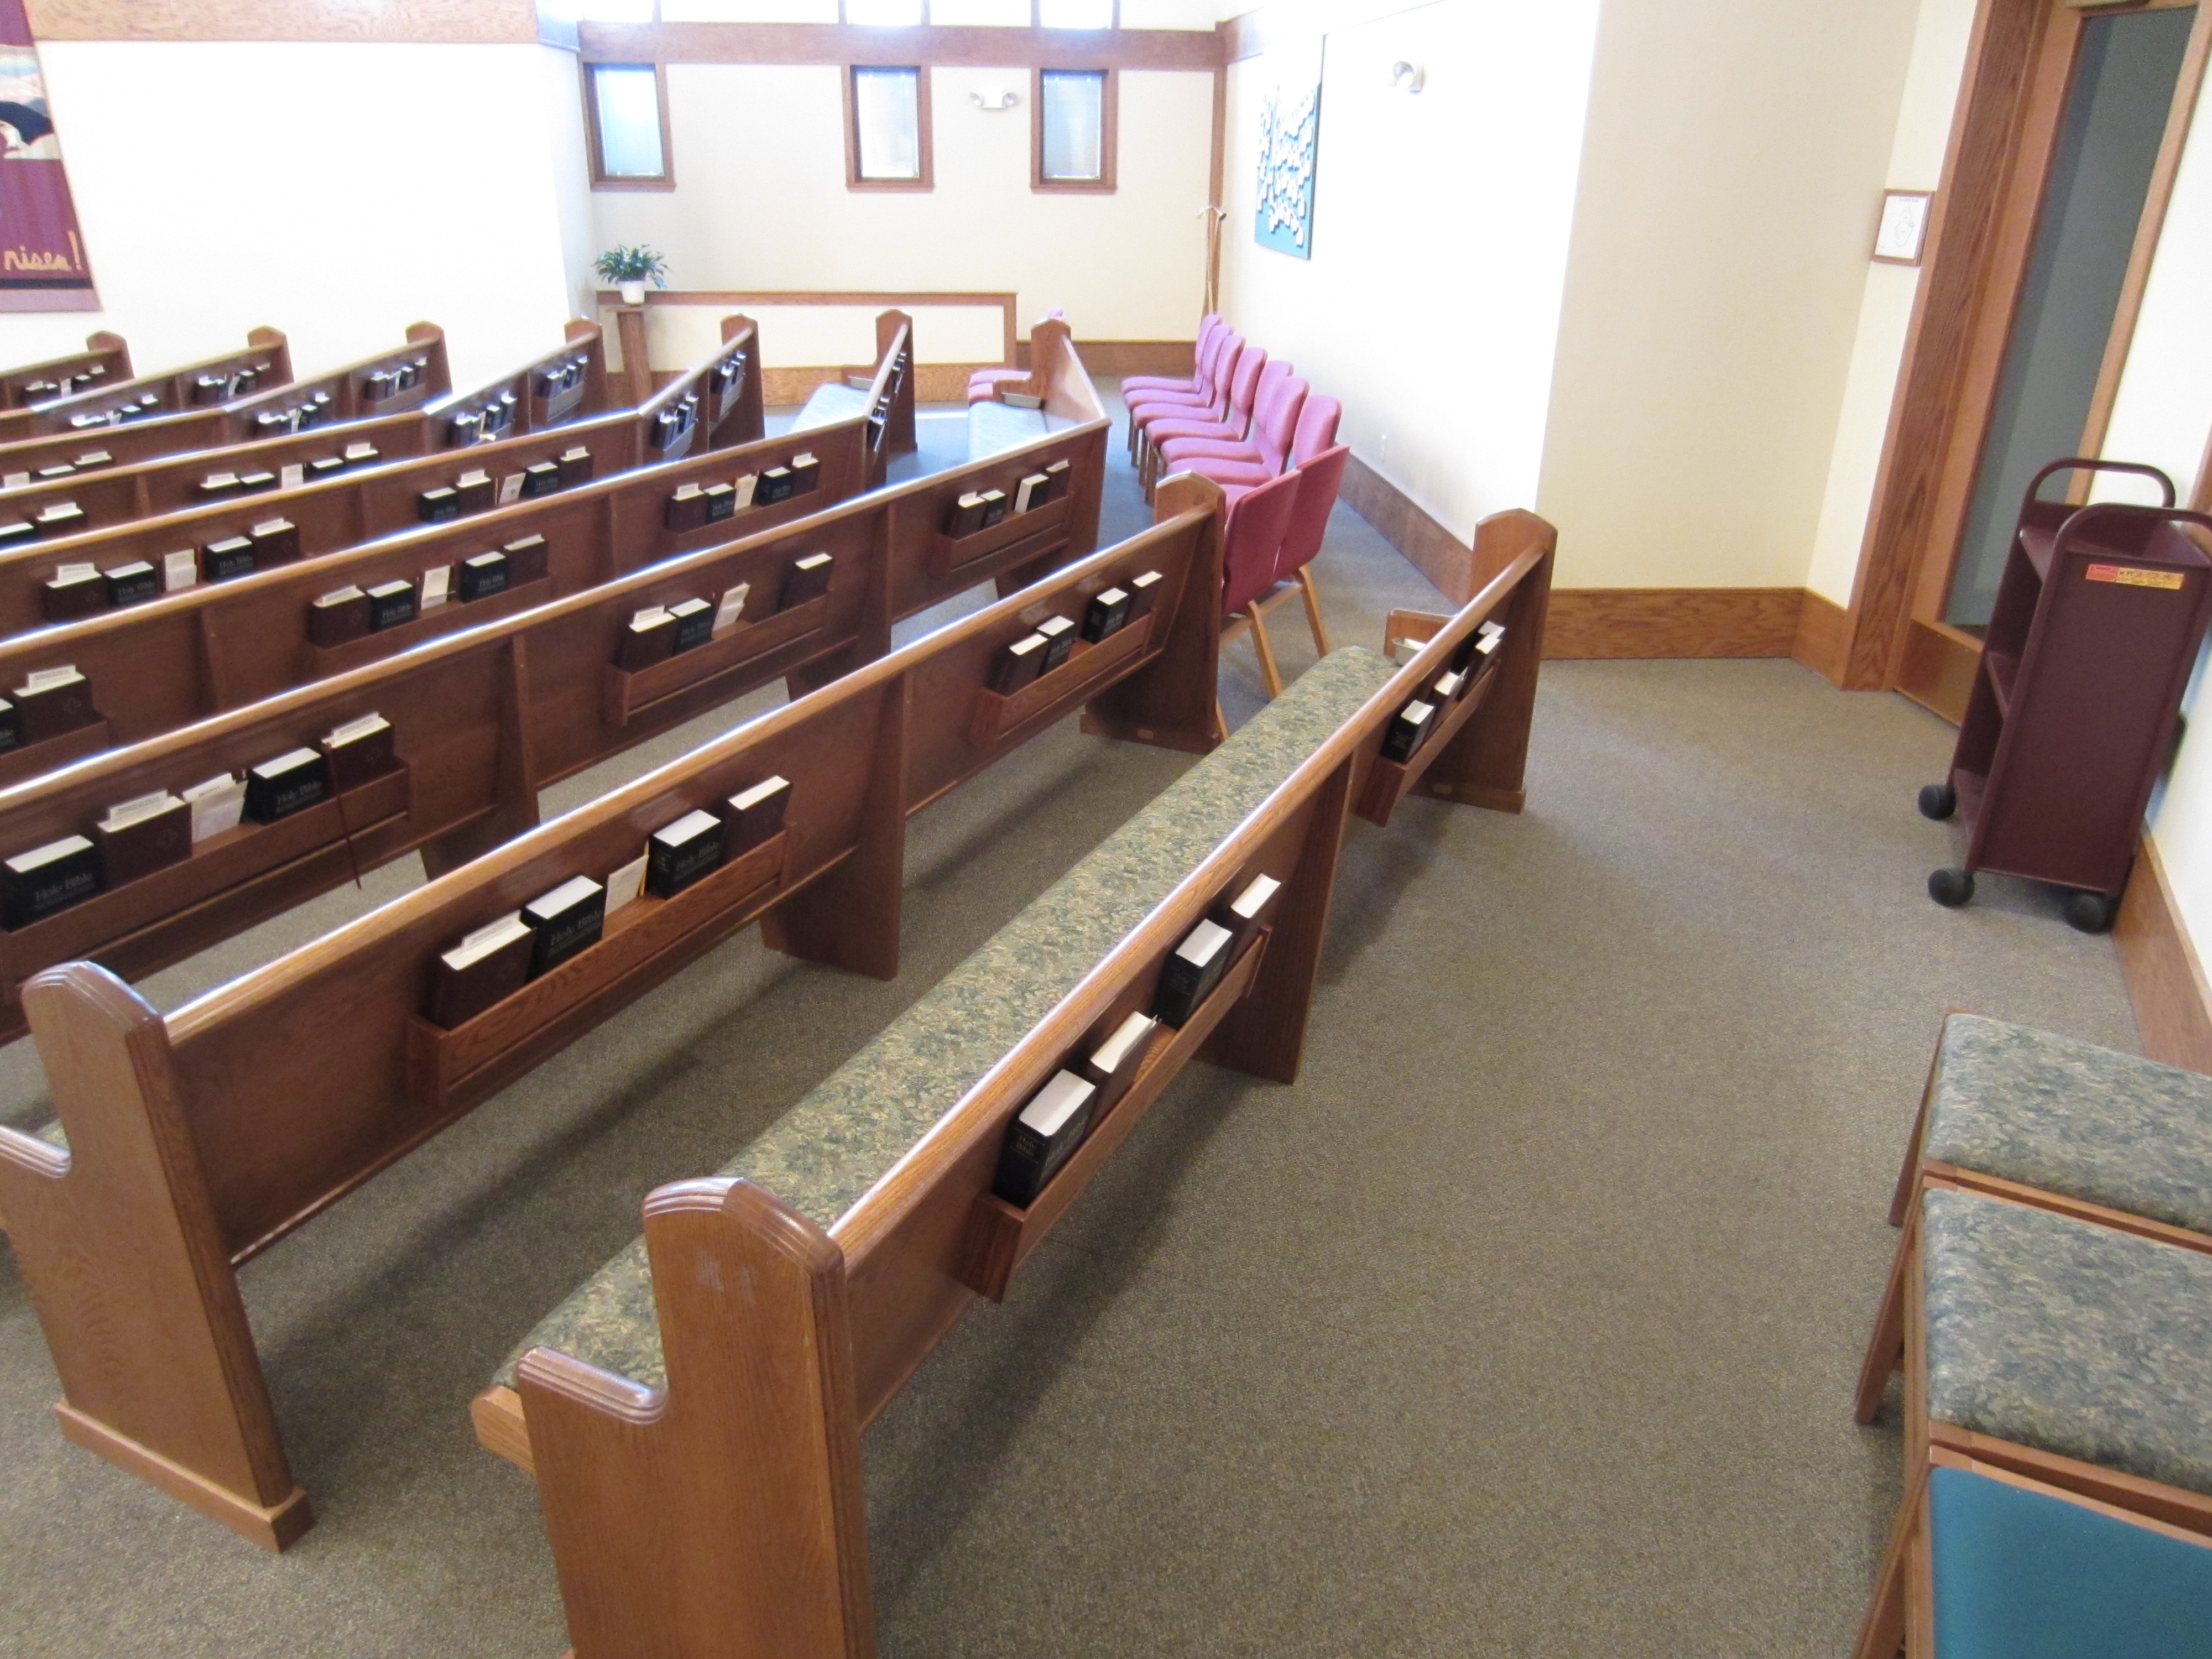
In mid-March Pastor Rob approached me for some work the church needed done to complete some new church pews being installed. The church was going to move two pews from another room and have them installed into the back of the church. These pews didn’t have bible holders, and the back pews that currently existed did not have bible holders. This left, all told, 12 new bible holders that needed to be made, and he asked me if I’d be able to do that. I was honored that he trusted me to do that, but a bit worried about modifying something so public, and in the church no less. Drilling holes in God’s House was daunting, but I took the job without hesitation.
I started by removing one of the existing bible holders and taking it home to make a plan and match the stain. I had some difficulty matching the stain, so after inquiring found out the manufacturer (Sauder) of the original bible holders and looked them up to see what “color” they called this. Well, I found a price book for their products that listed out all of the options, stains, etc, but this didn’t help. It contained the item numbers and dimensions though:

- Sauder Catalog, Item 308-0378, Bookrack, 4-Book

- Sauder Catalog, Item 313-0007, Insert Card & Pencil Holder
I did some test stains on some oak, took them into the church and asked for a few people’s opinions…. after a few runs I found one that was a fairly close that Pastor approved.
Building
When it comes to woodworking I have a tendency to build on the fly. I keep a parts list in my head, which is probably not the best way to do things. In this case I needed to write everything out because I needed to make sure each piece was the same size from book rack to book rack. I wanted each piece to be interchangable, so that I could make a few extra pieces and swap out “bad” items, or pieces that I might make a mistake on.
Dimensions/Stock List
(I never filled this in…. sorry….)
Book Rack Ends
- Cut the stock to width. Easy enough to make each piece the same length;
- Run one side through the jointer
- Use that side against the fence to cut to width on the table saw.
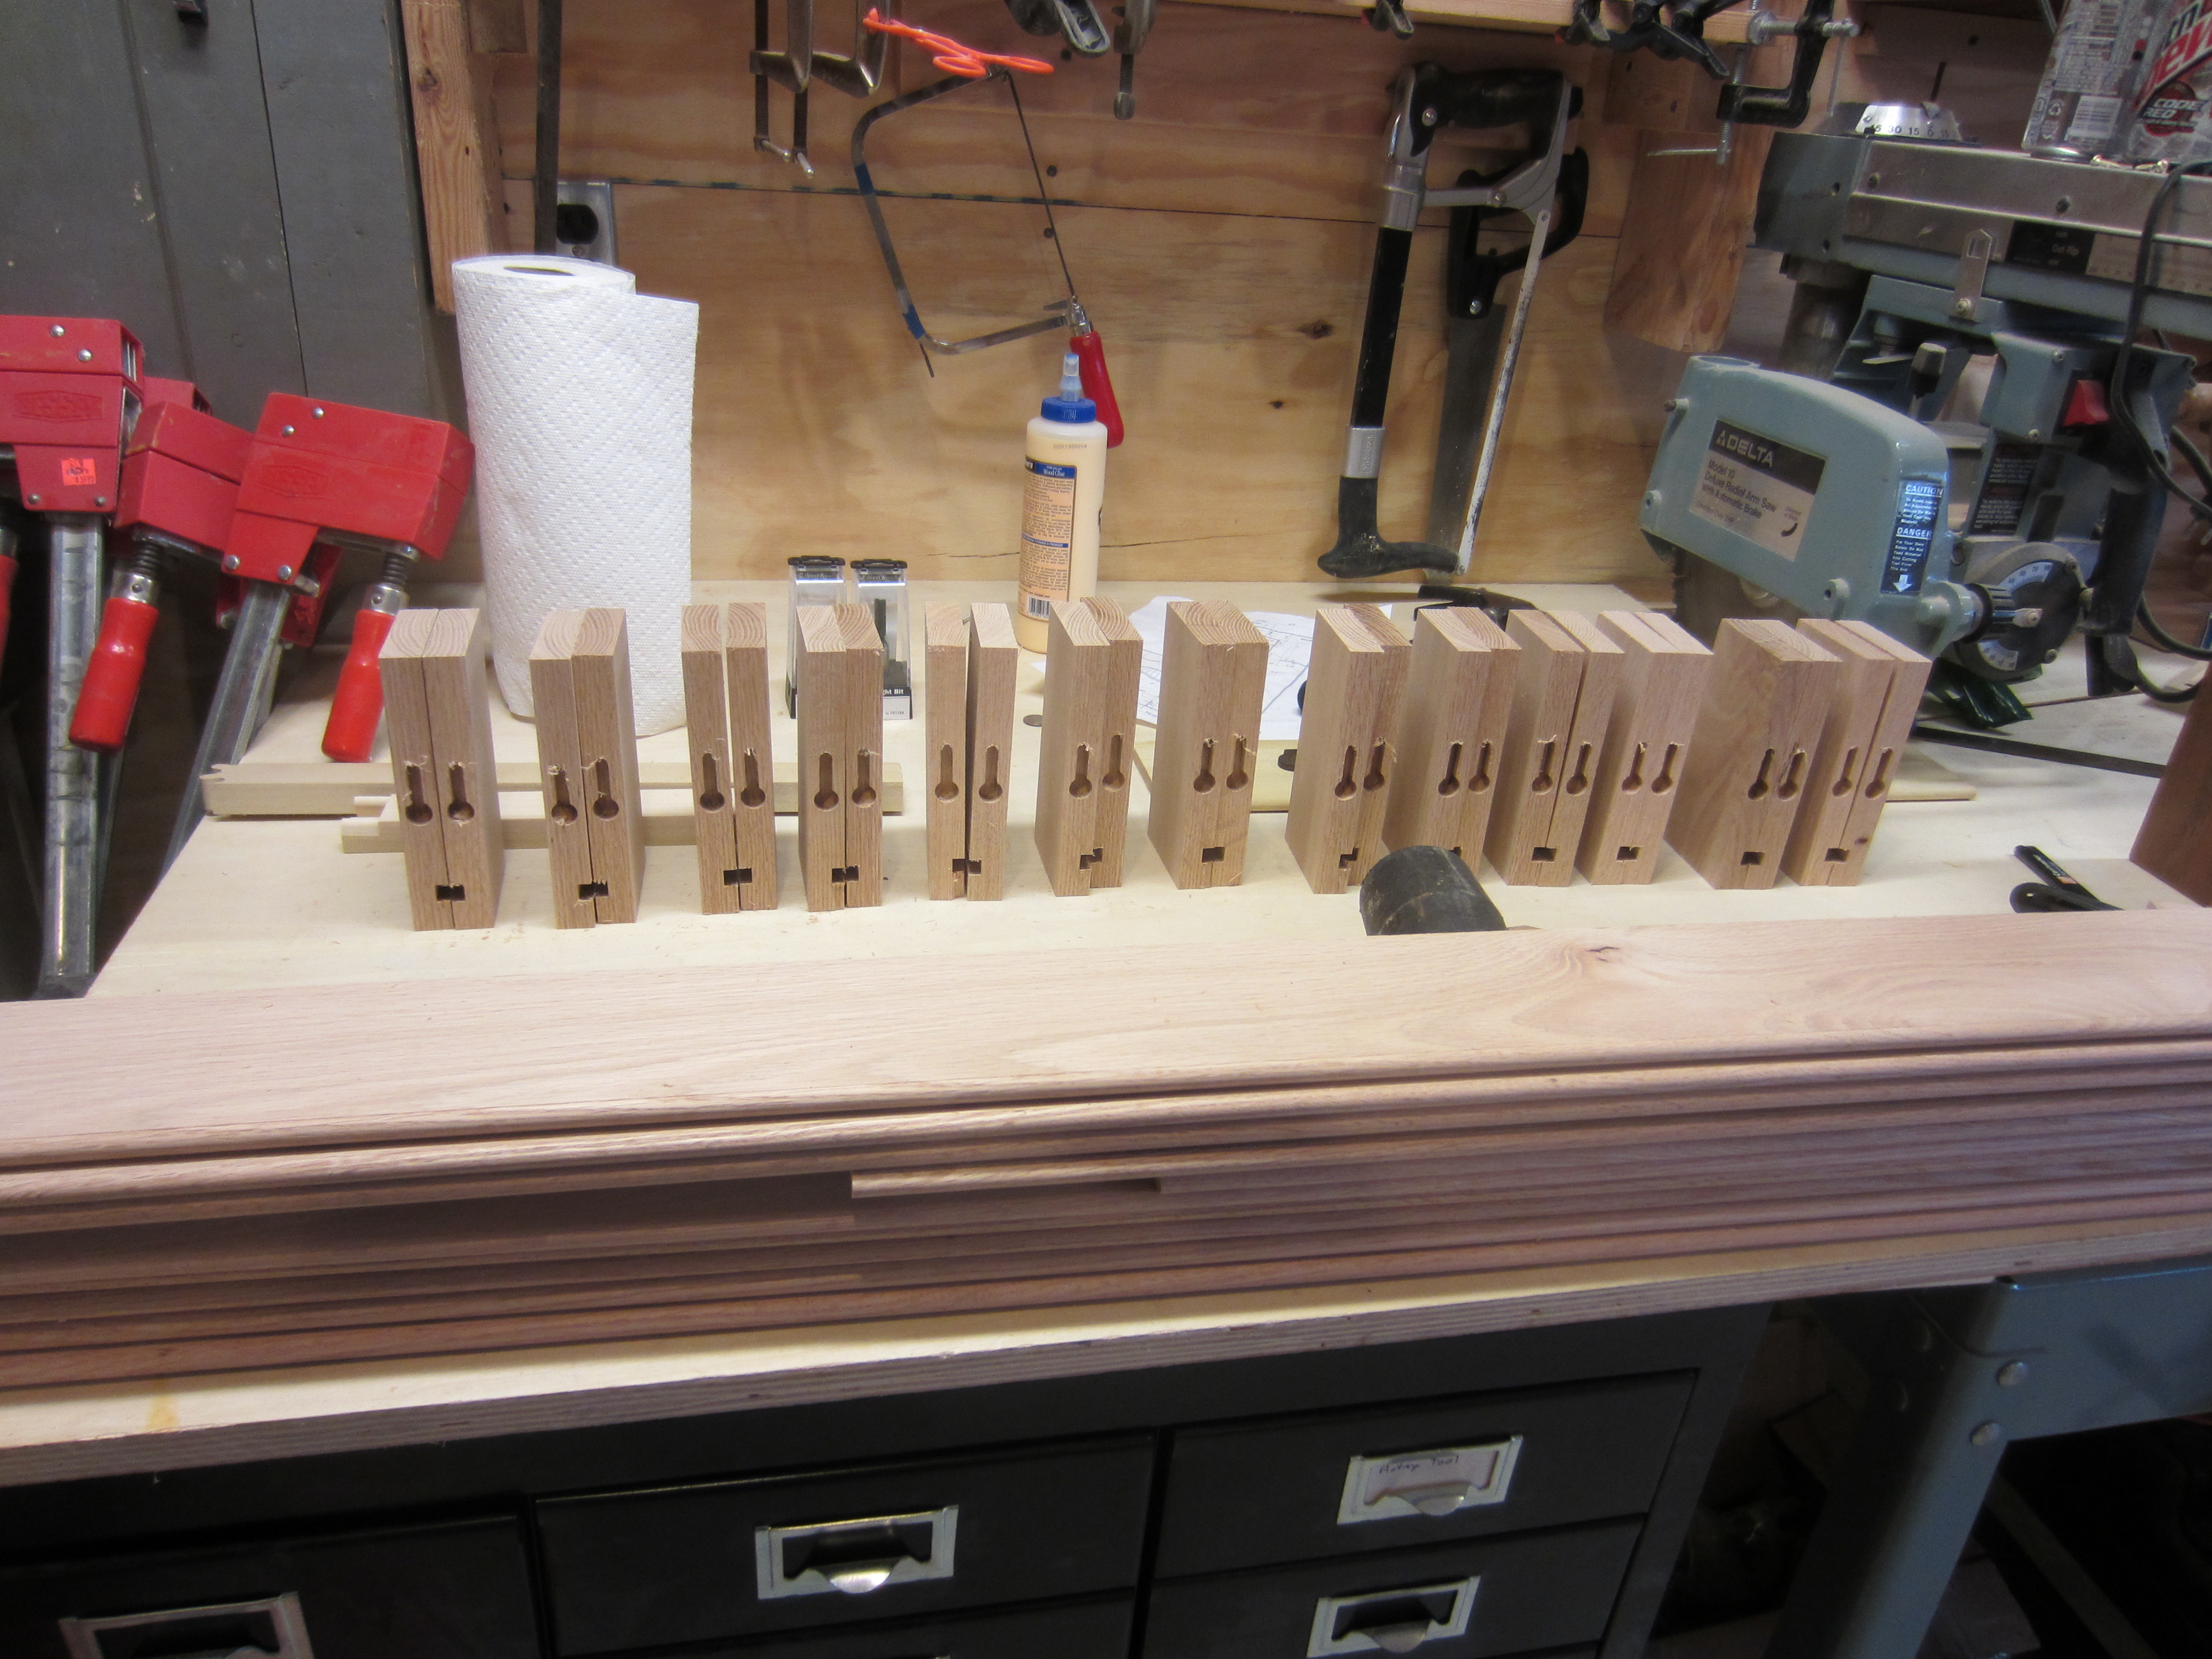
- Cut the stock to lengthThere are a couple of ways to make sure stocks is the same length. I prefer just clamping a stop (scrap piece of wood) onto the cut-off saw. In the picture below you can see the stack of side blanks. I needed 26 of these to create the book racks needed, but I cut 30 in case of other issues down the line.

- Cutting Book Rack Sides
Ending of this post…
Ok, so, I started this post three years ago. I… wasn’t in a mindset to finish the post, but I did finish the bible holders. Here are some process and ending pictures. (nope, not in order… but hey… if you have questions, comment. 🙂 )
Sanding jig for the sides…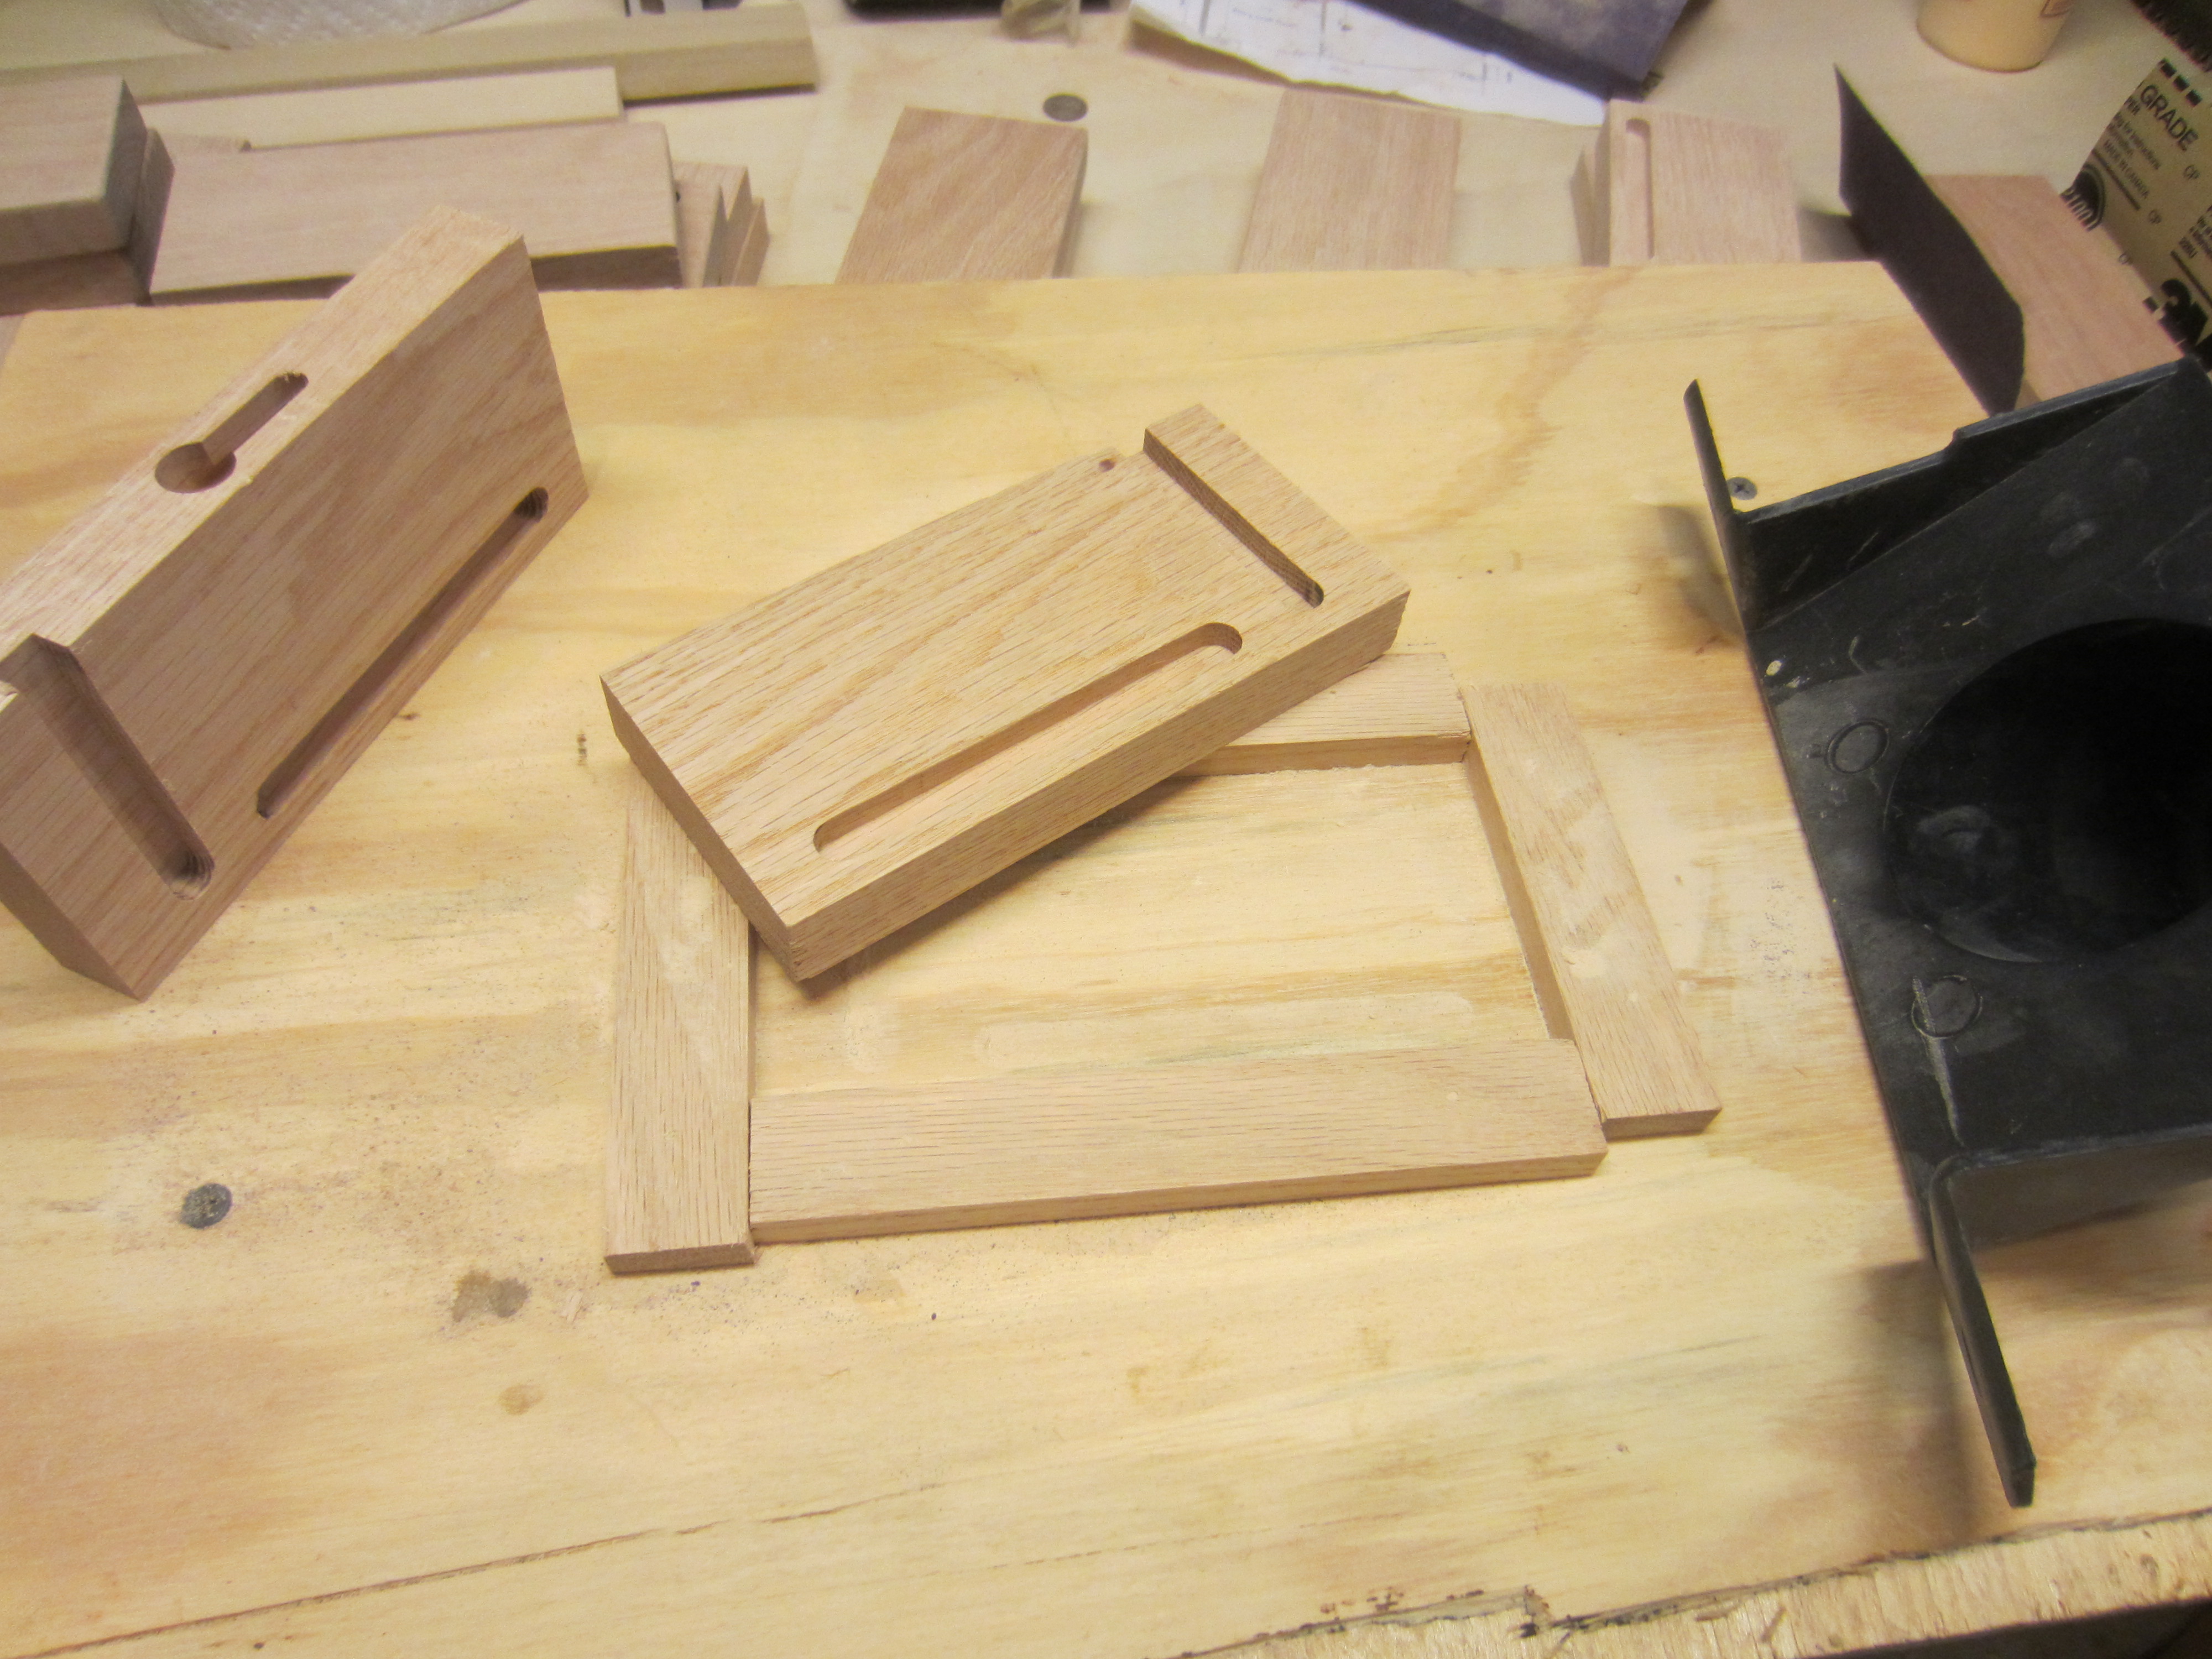
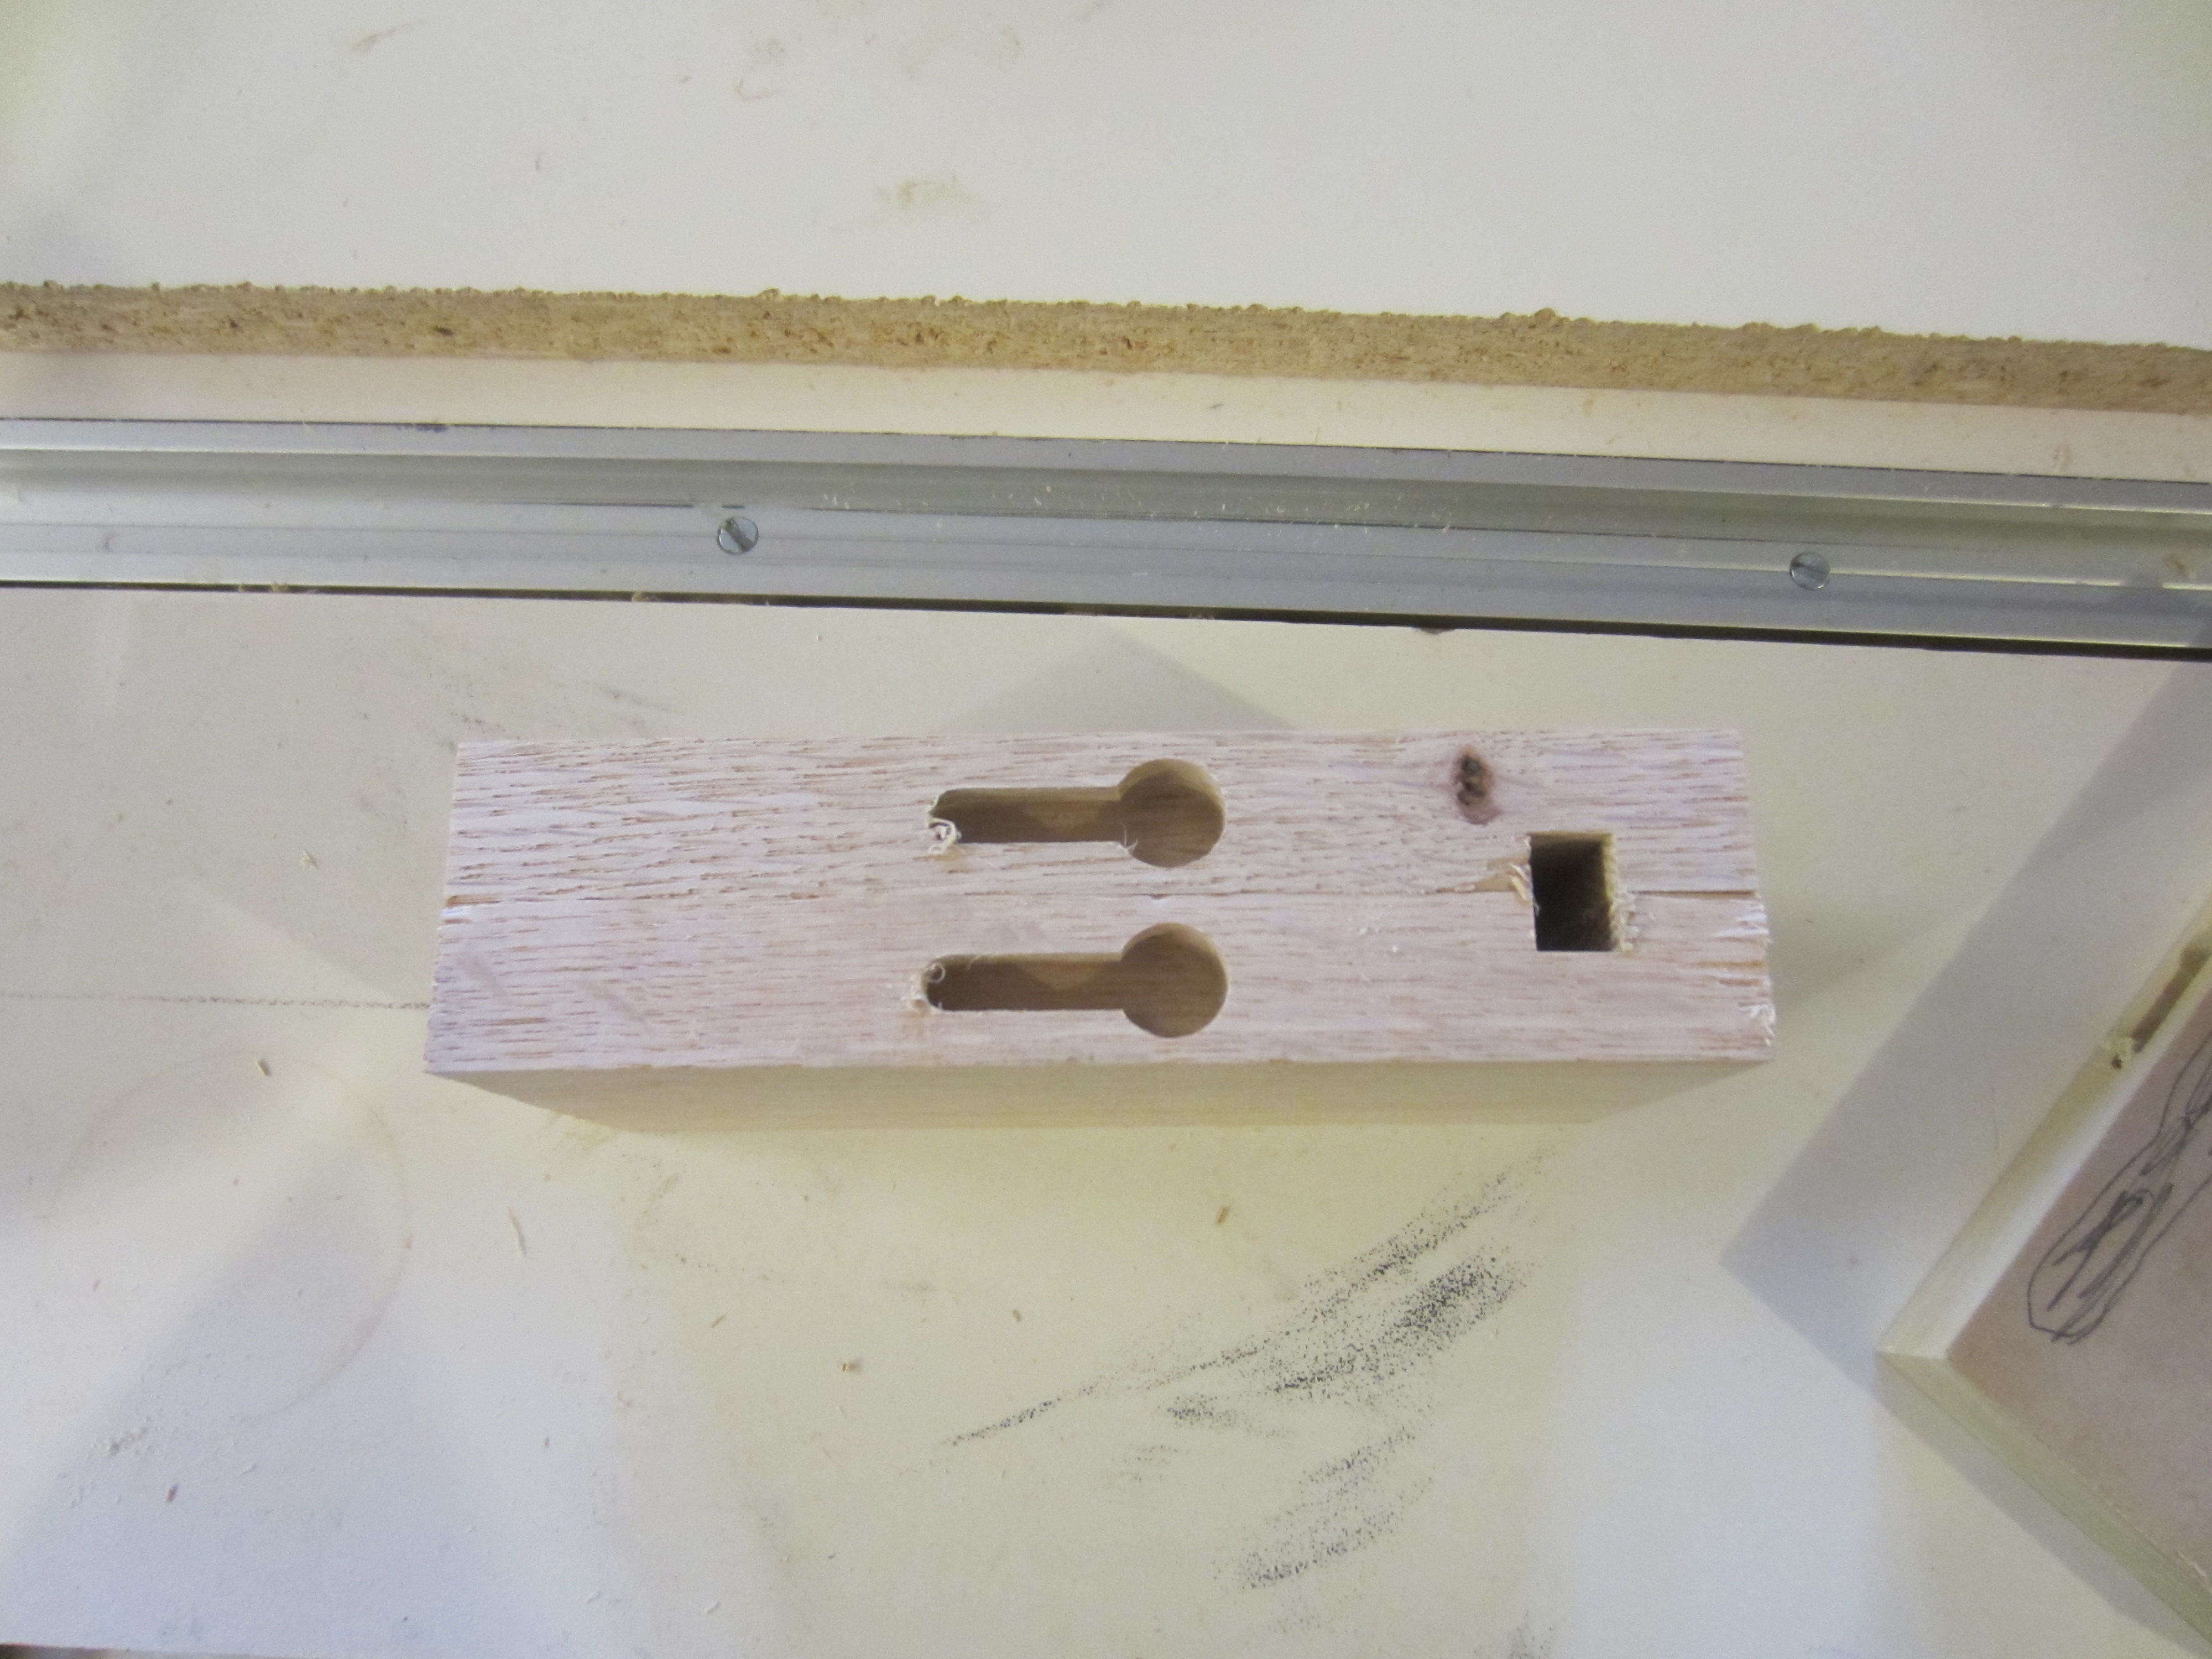
Below is the setup for the keyhole jig on the back, which is used to connect to the pews.

the backs of the bible holders…
one set….
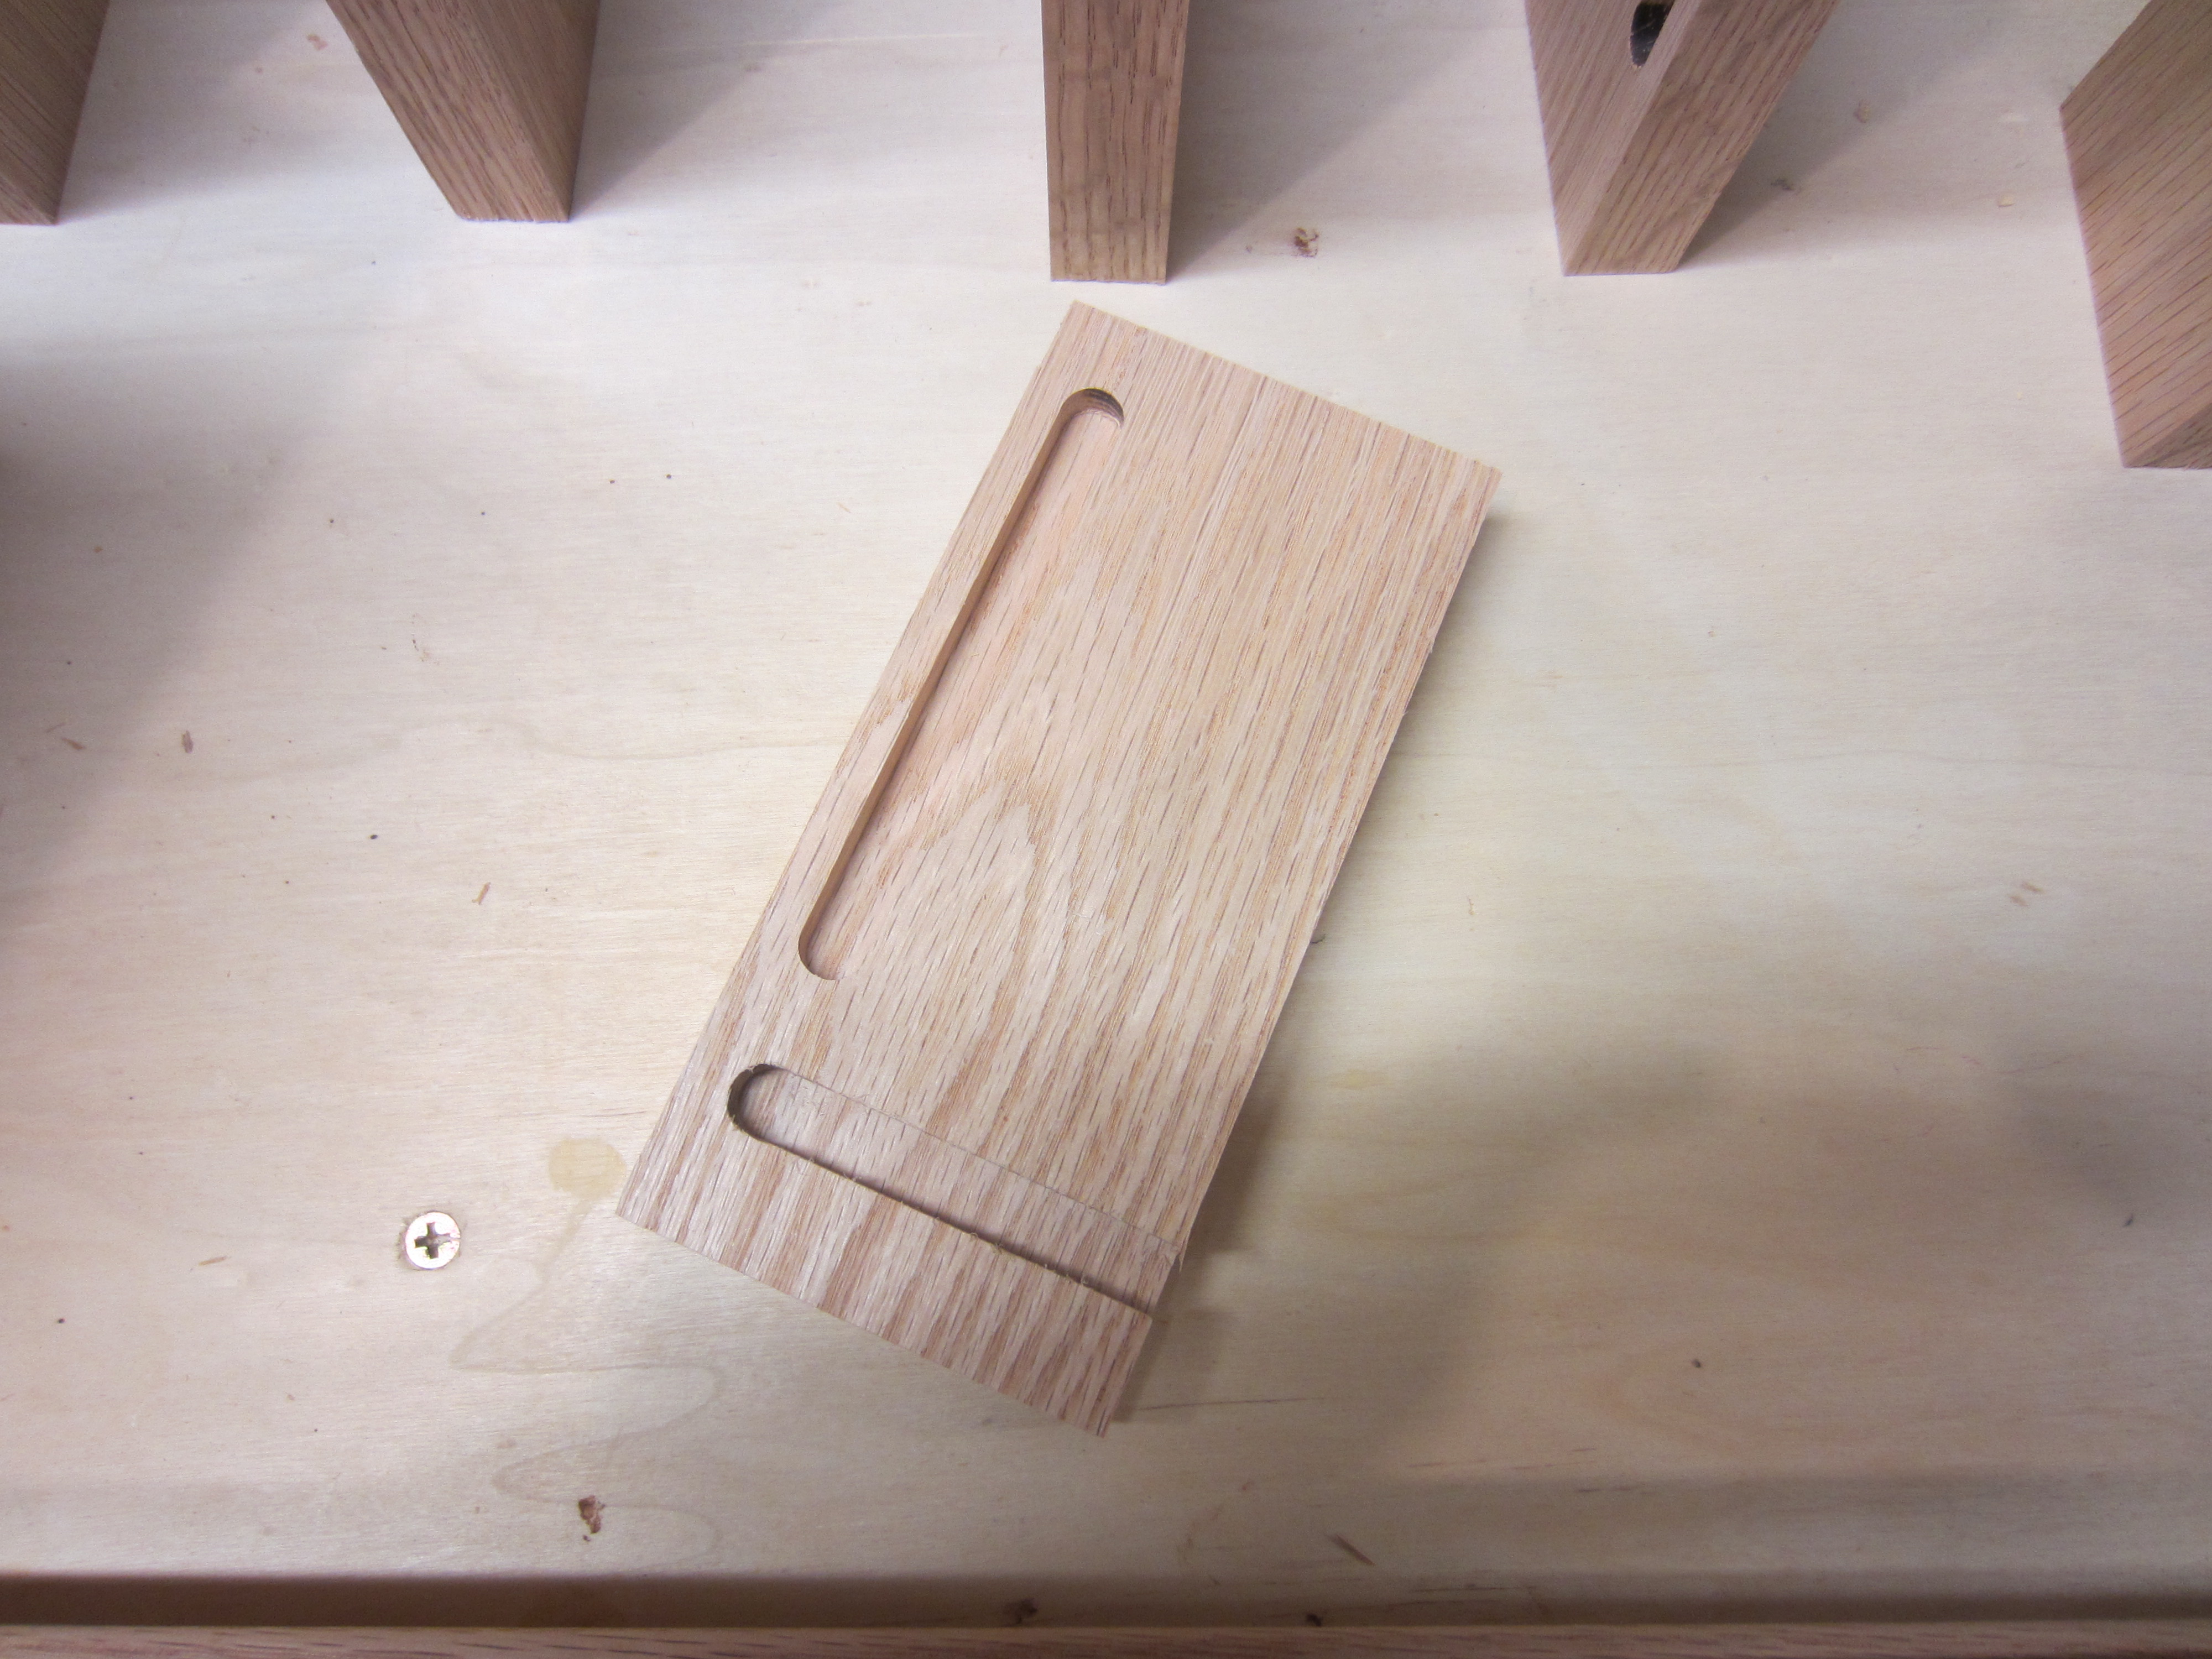
The dados on the inside of each side of each bible holder…
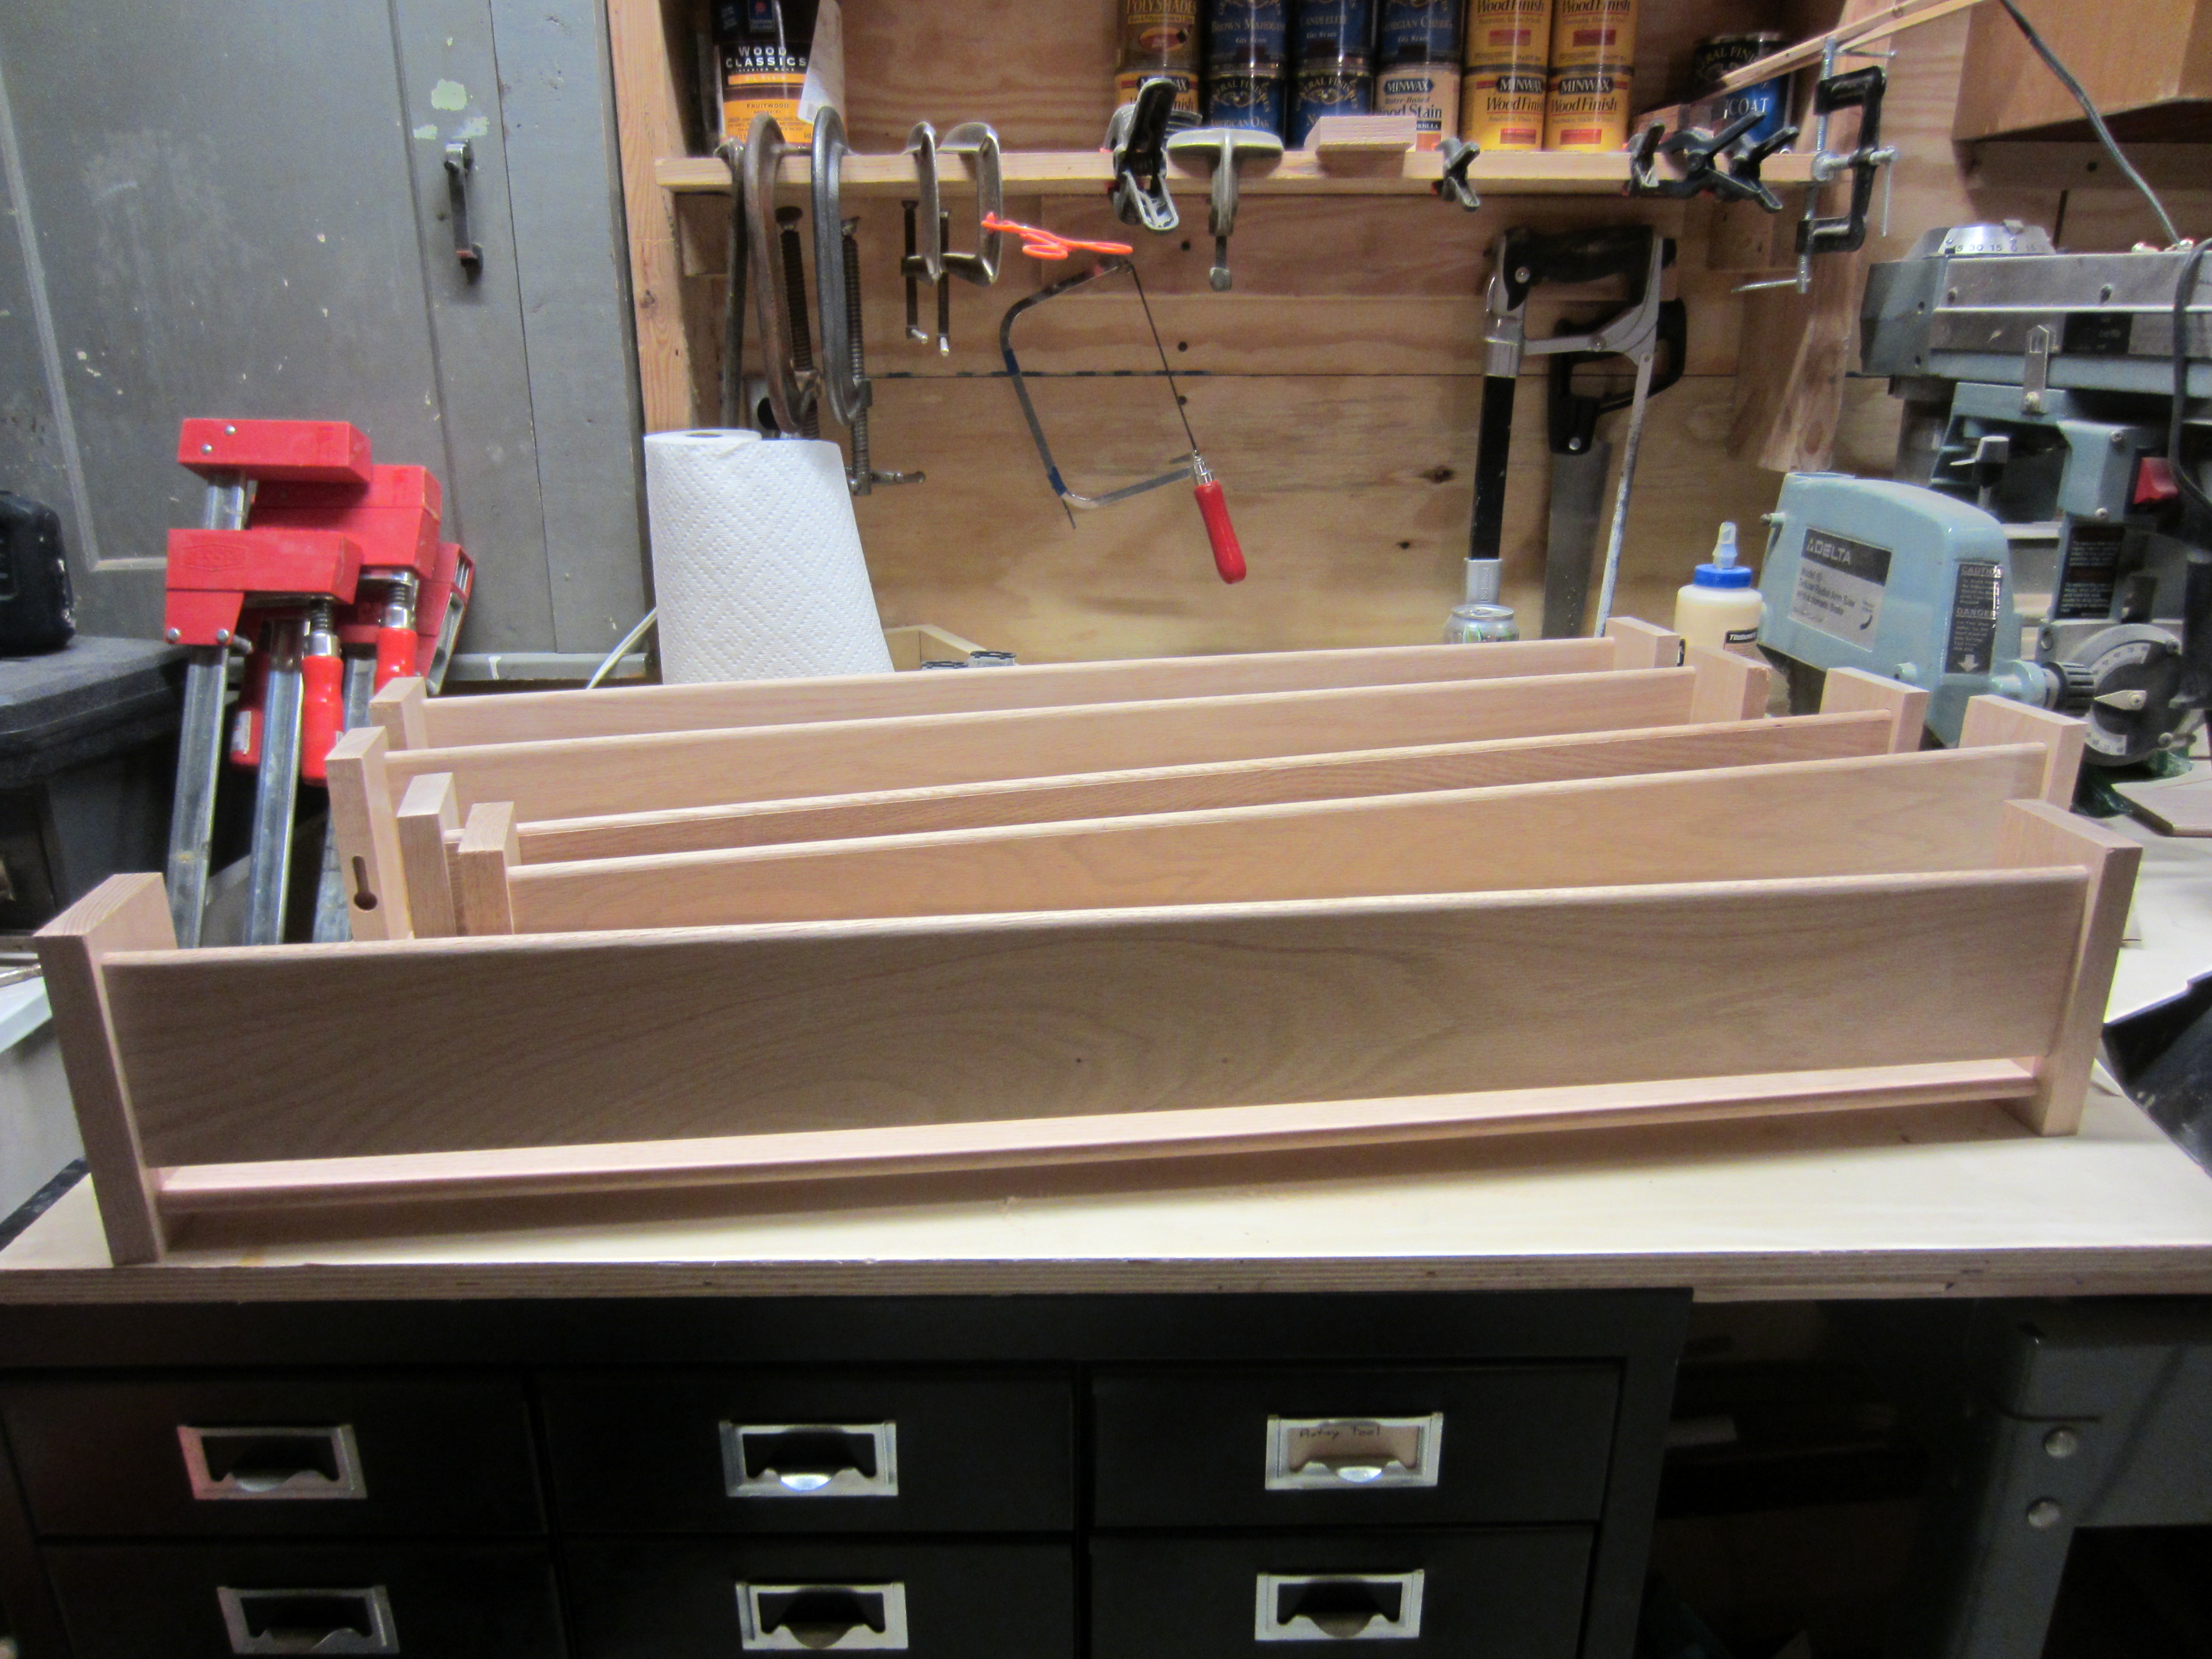
Built, but not yet stained…
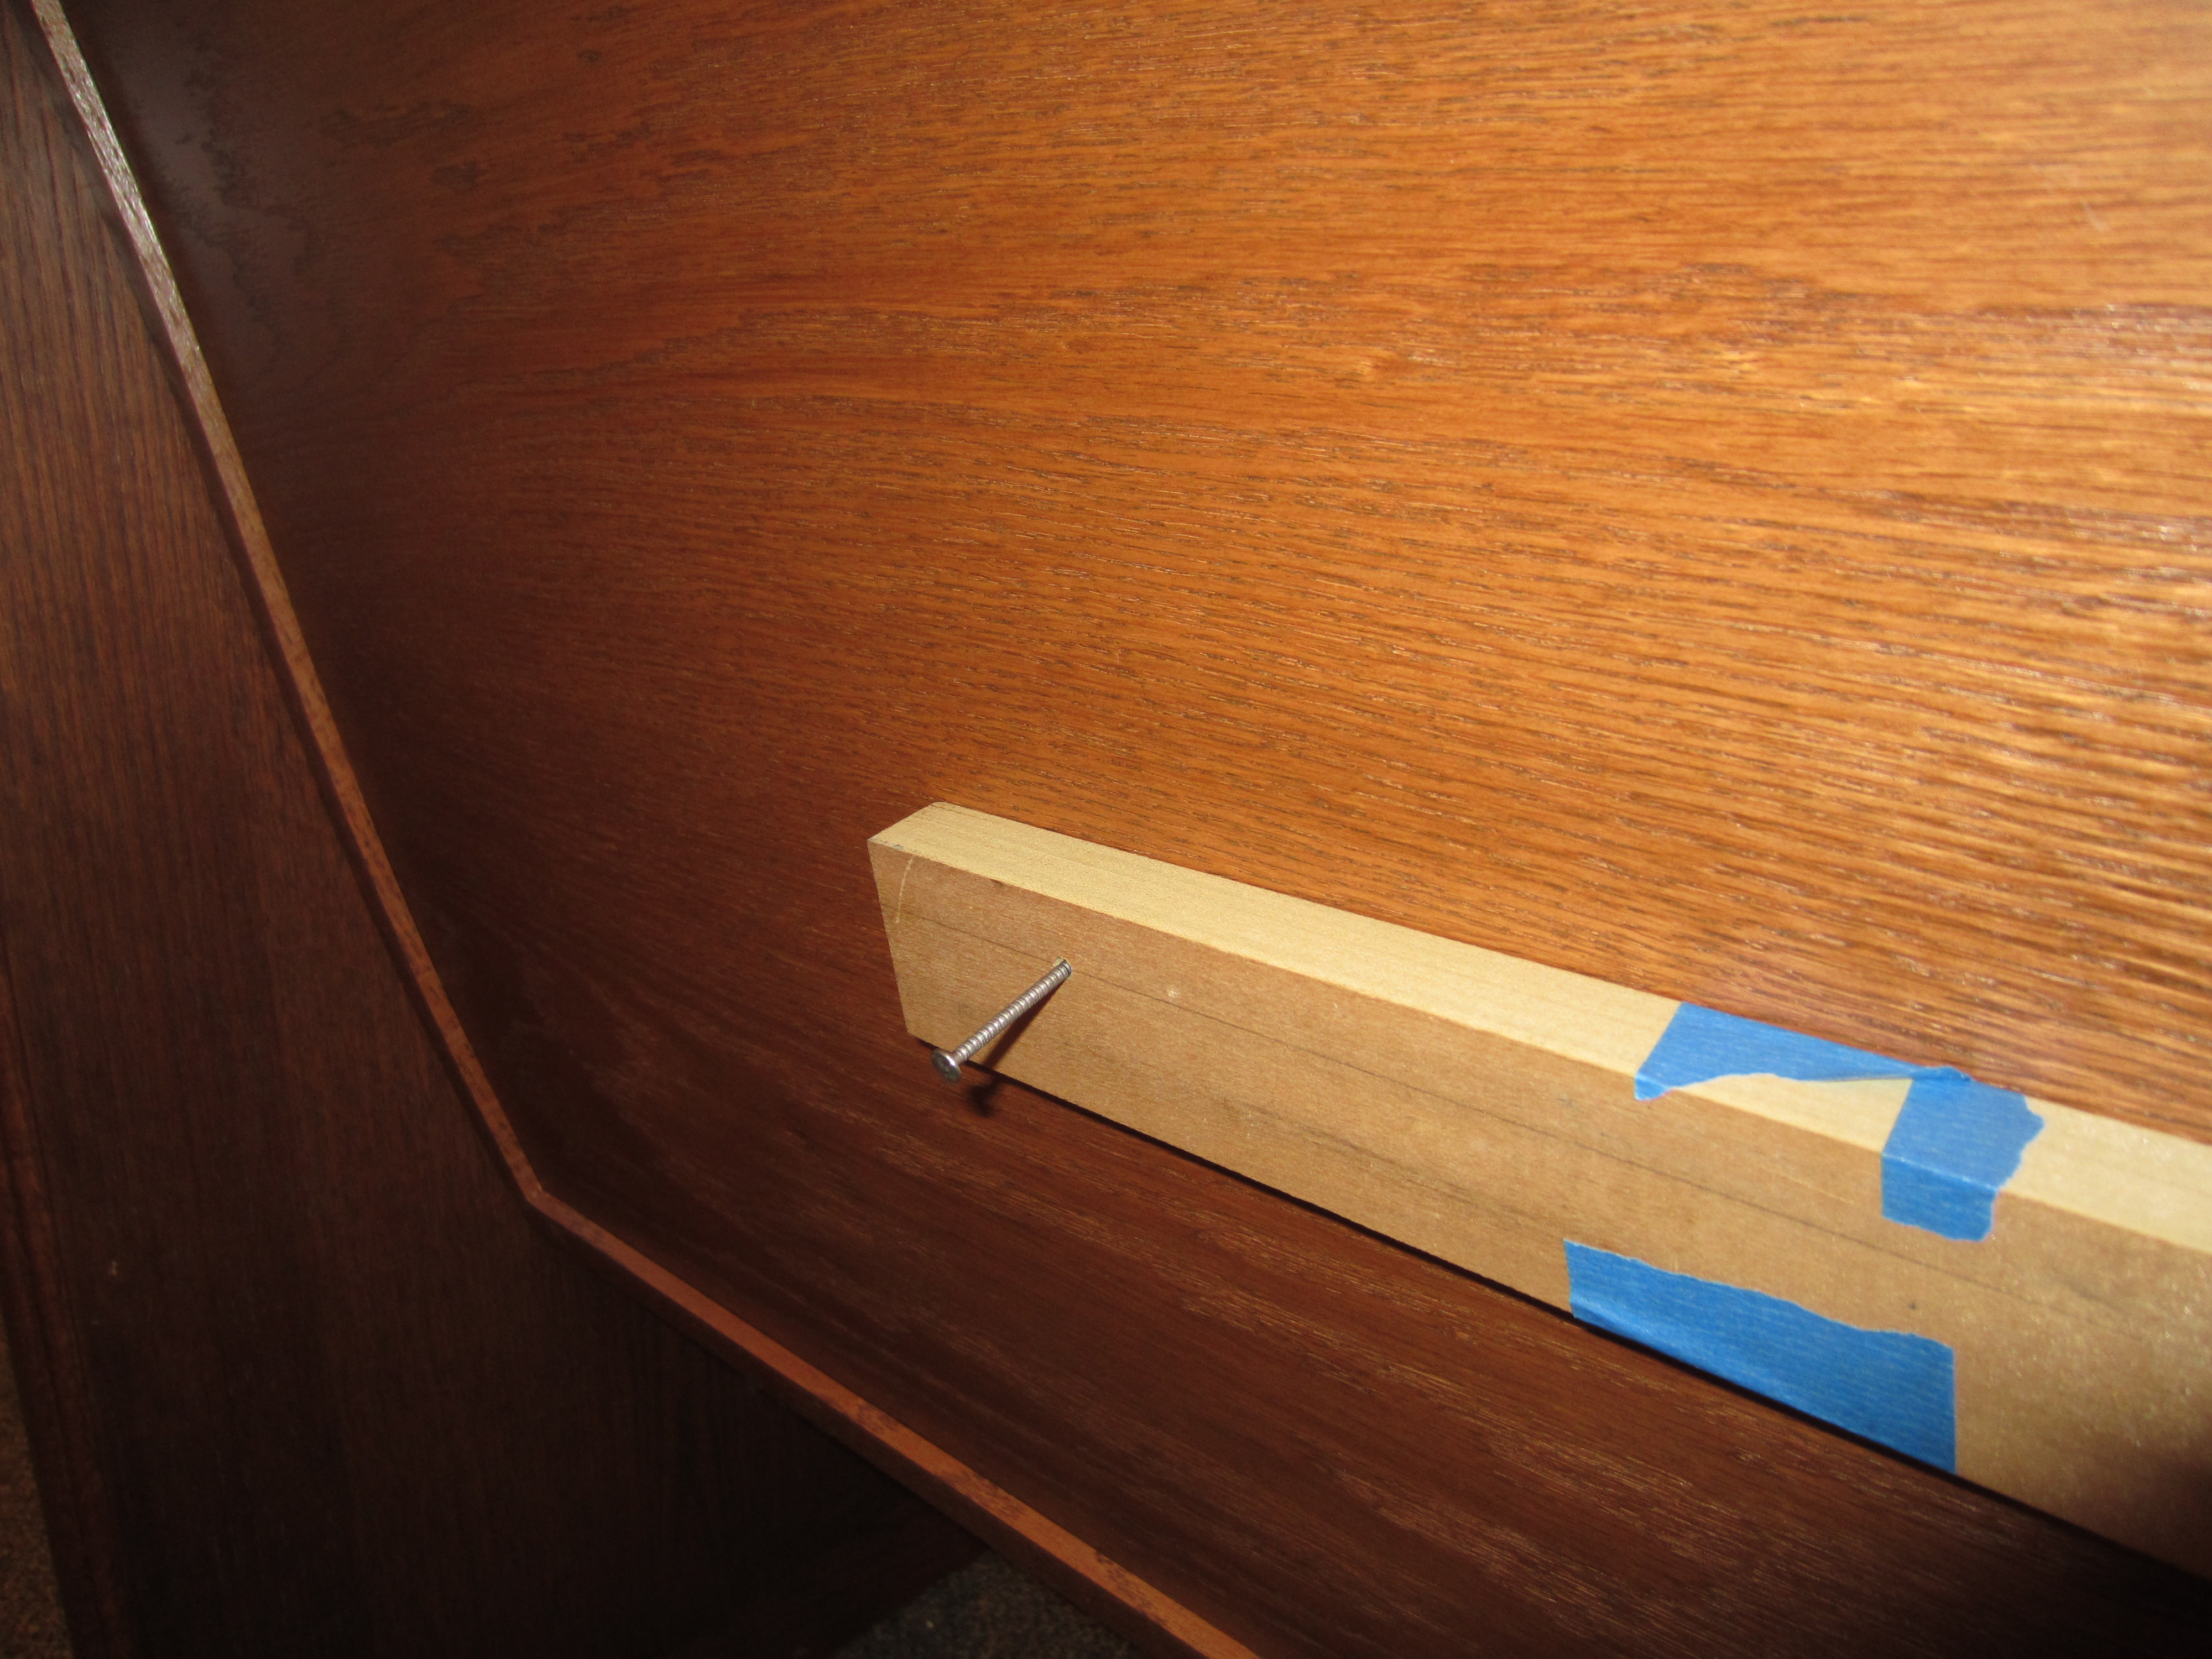
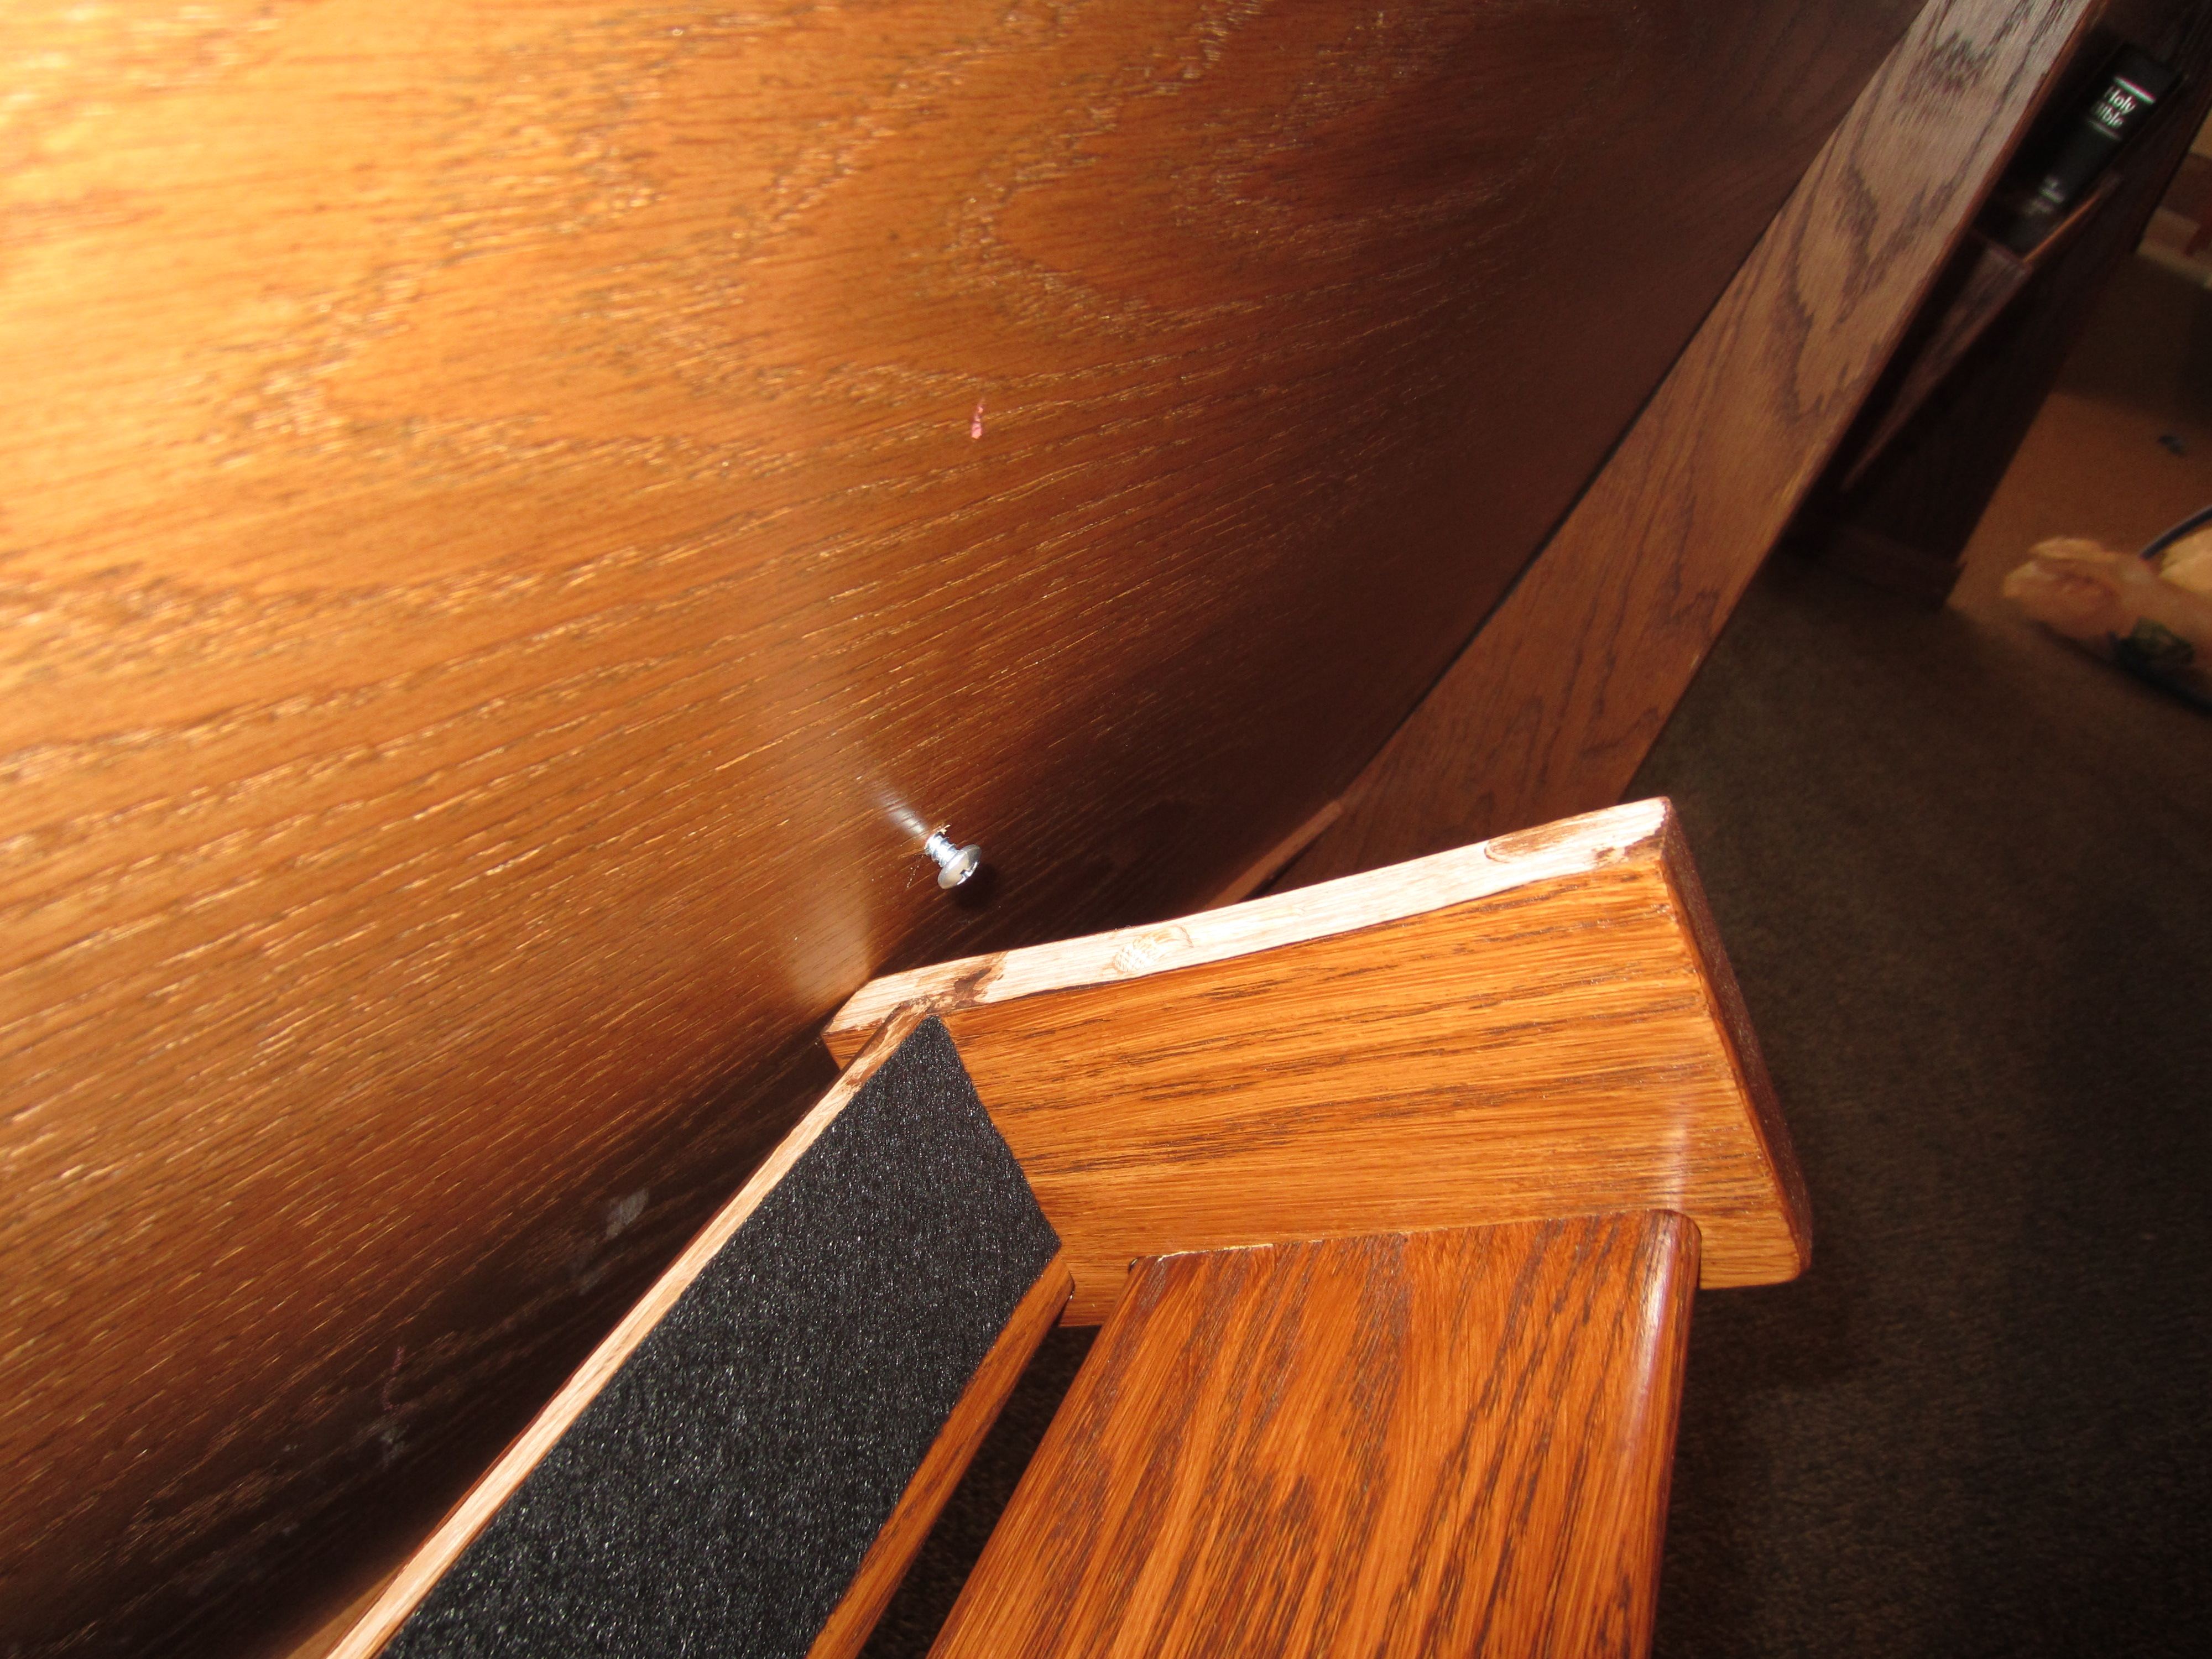
I used a jig to center them all on the back of the pews… kept this jig for years, eventually burned it in the firepit in the back I believe… 🙂
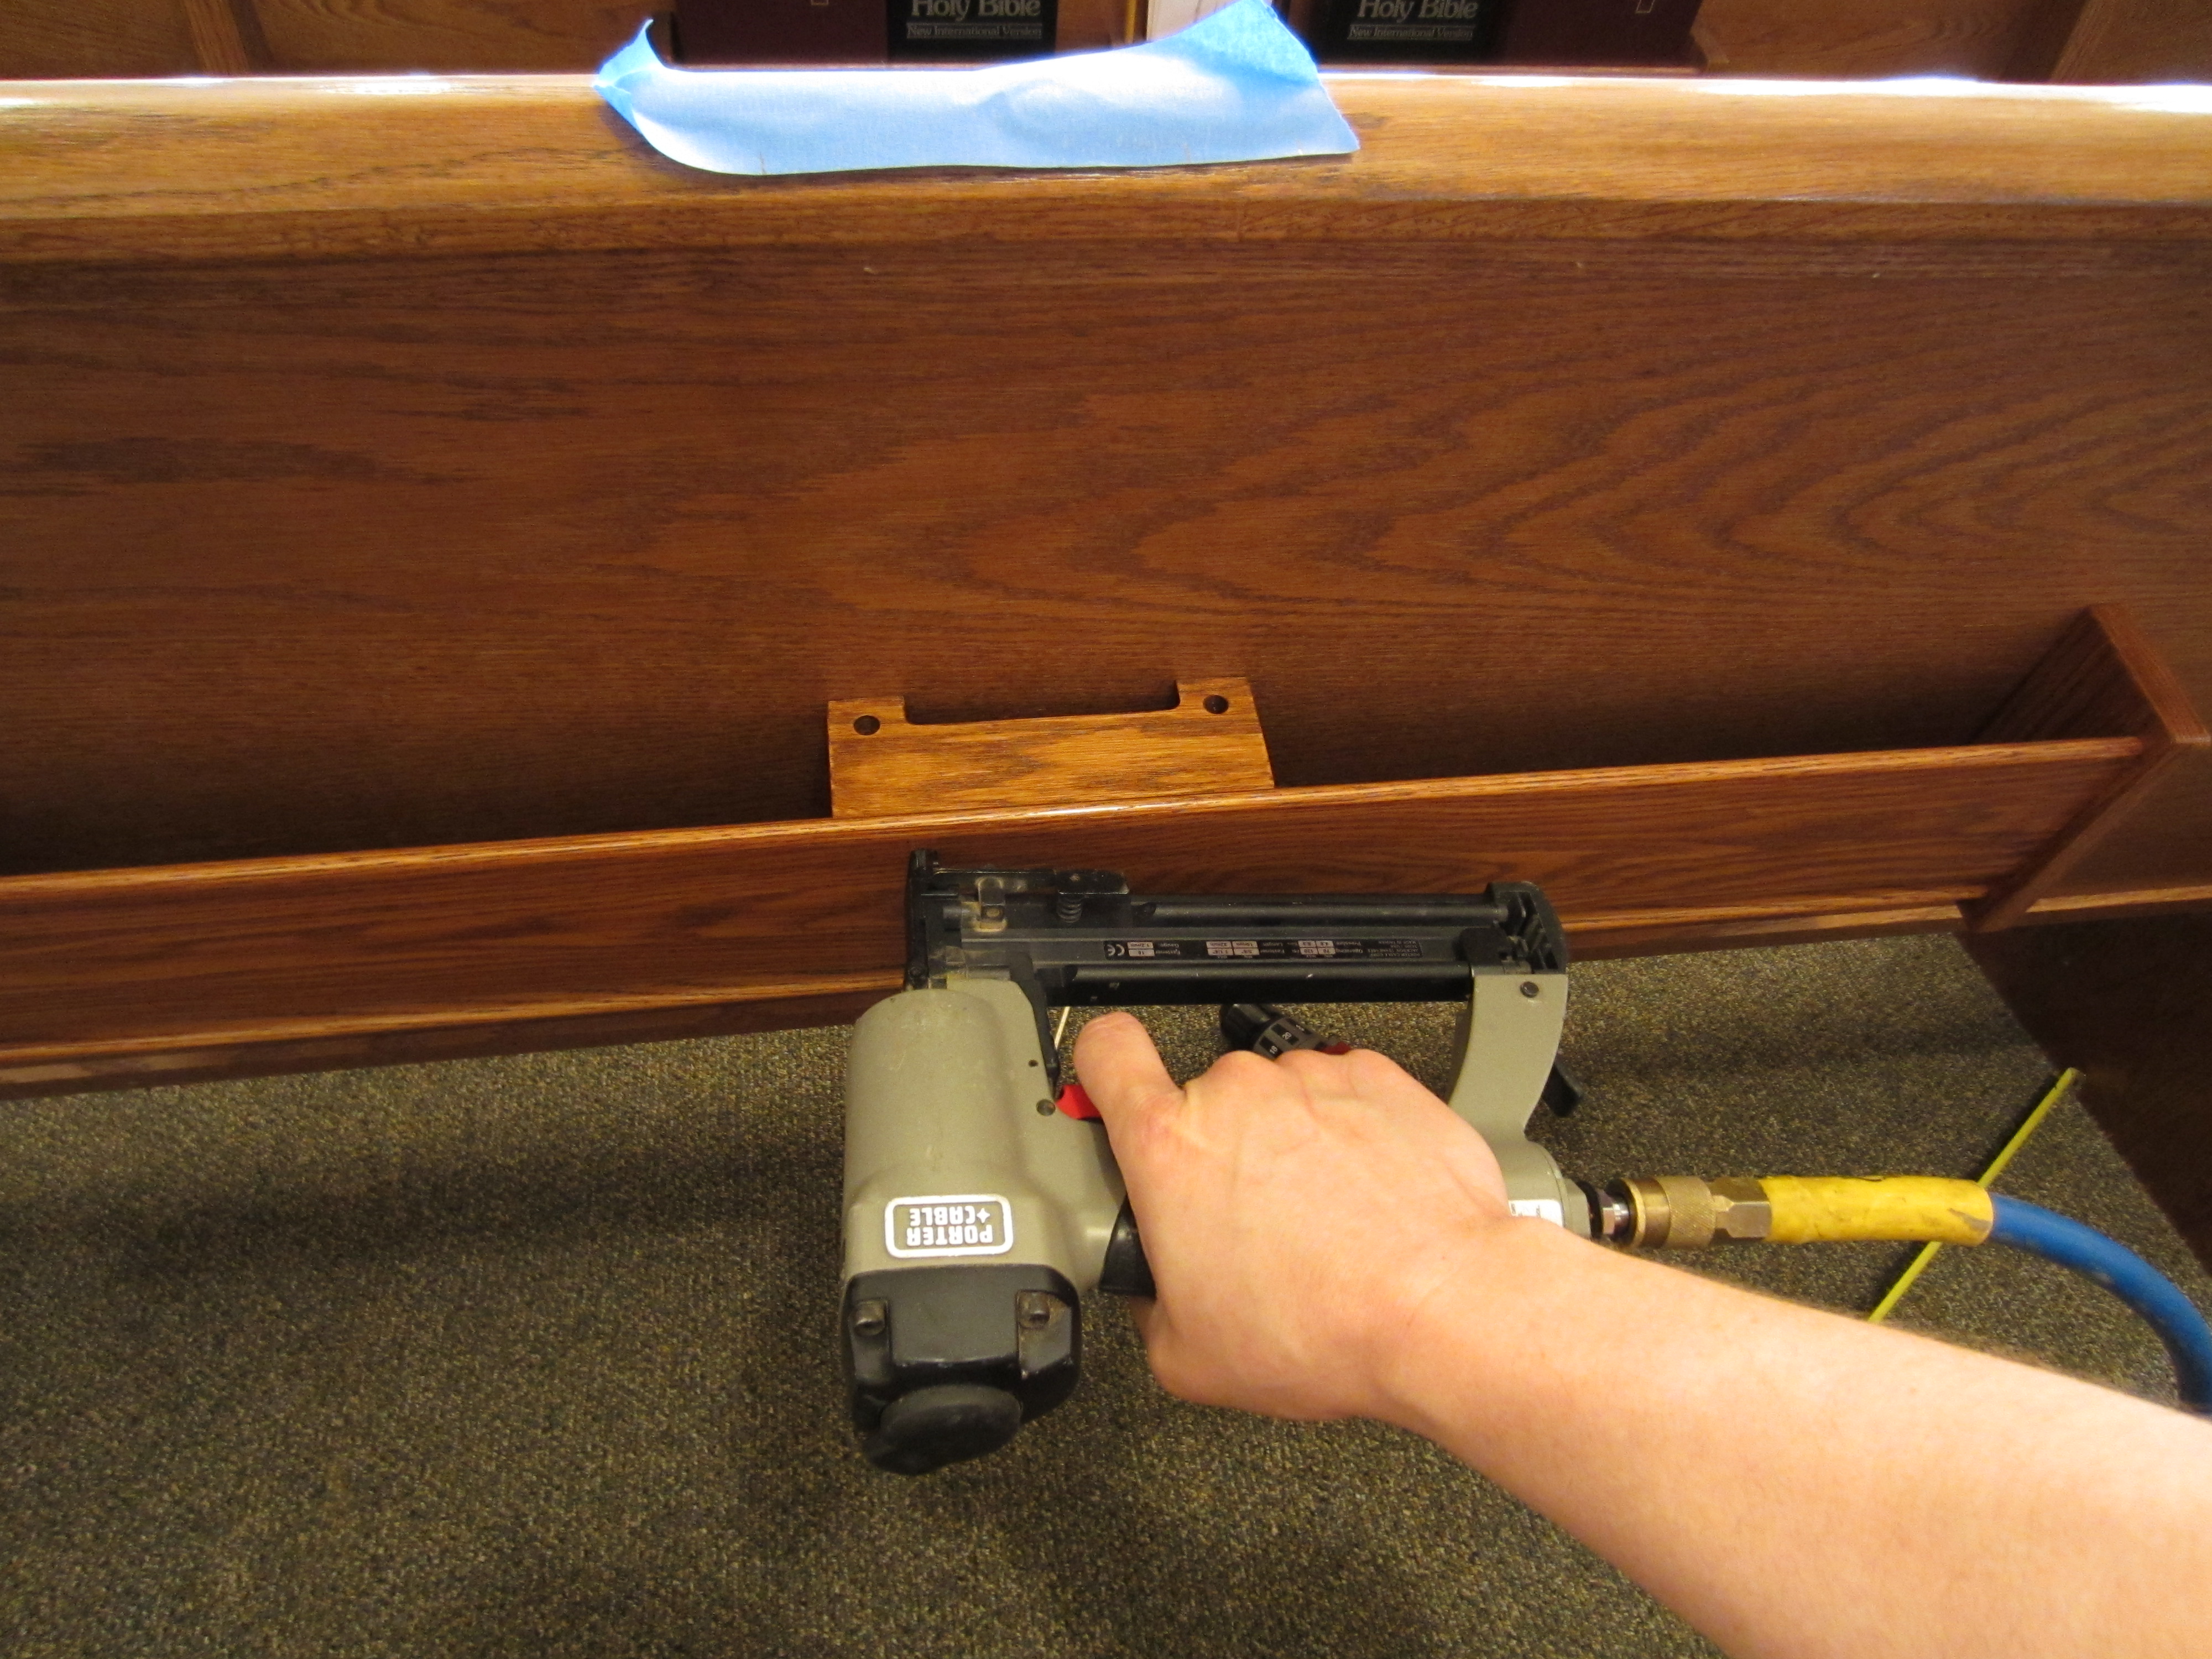
Attaching them to the pews… Notice the felt I added to the bottom, so when people put bibles in them they didn’t “thud” 🙂
The final tack to hold the cards and pencils…
The finished look! Can’t tell the difference between these and the originals.
Pingback: bahis siteleri